How to Make Beautiful Photo Frames for Your School Project: Steps and Tips

Photo frames are one of the most important parts of our home wall decorations. Moreover, we all love to sustain our beautiful memories and photos through attractive photo frames. It can also be a good school project for students. You can use all your creativity to enrich the beauty of your school project. Indeed, handmade photo frames are lovely and pretty evidence of your art and creativity. Frames make your images appear stylish and beautiful. Along with this, handmade photo frames are less expensive. Indeed, it grabs your attention as it looks beautiful and you find it difficult to take your eyes off. We will be providing stepwise instructions to create a lovely photo frame through this blog.
Framing World provides options for photo frames. We offer the best services and all types of picture frames. Frame your memories with our services. Besides, we provide an online picture-framing service making it easy for customers to order the best frames.
Materials and Requirements
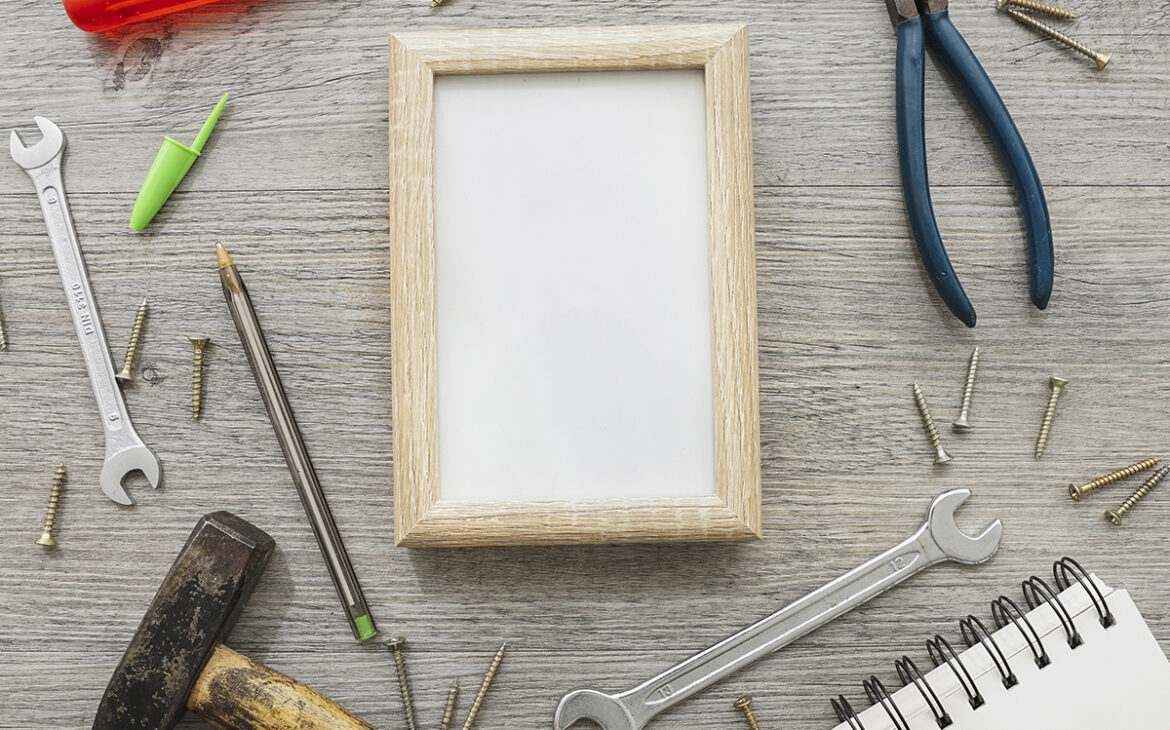
- Wooden strips: It provides a beautiful appearance to the photo frame. However, it is up to your needs you can also use metals that are especially available for framing. Wooden gallery frames beautify your walls along with enhancing the beauty of your photos.
- Cardboard: Secondly, you can use cardboard as well instead of wood strips. It is a cheaper option as well and under your budget.
- Paint color or designer thick sheets: You can use paints or designer sheets to make your frame look great and fabulous. Moreover, designer sheets would be a good option if you do not feel like involving color paints.
- Glue or hot glue gun: A glue gun is preferred to stick all the pieces together.
- Pencil and Ruler: A pencil and a scale are important for proper measurements. For instance, if you do it with guesswork then your efforts may go in vain.
- Scissors: You will need scissors to cut the cardboard.
- Hooks or nails: You will need some nails or hooks to hang it on the wall.
- Items for decorations: You can also include decoration items such as beads, fabric decoration pieces, or décor stickers.
- Glass/Acrylic sheet: It is up to you can choose any of these for your photo frame. Alternatively, acrylic sheets can be a good option for students as working with glass may harm them.
- Photograph: No doubt, you will need a picture to add to your photo frame.

Procedure:
STEP 1: Choose your Frame Size
Take the measurements of your photograph so it becomes easy for you to choose the frame size. Use a ruler to take the measurements and then note it for reference. This is important that your photo fits into the frame. Moreover, leave spaces of half an inch or a full inch to create a beautiful border. Indeed, make sure you do not make mistakes in measuring the dimensions. It will cost you your time and hard work that may get wasted.
STEP 2: Cutting the base of the frame
Continuing with the process, we will move on to cutting the base of the frame. In case you are using cardboard, mark the points for both the inner opening and outside edges. Finally, cut it using a scissor or a cutter carefully. Moreover, use a ruler to measure it all again to confirm before cutting.
After you finish the cutting process, sand the borders and outlines to remove grain particles.
STEP 3: Join the Frame Parts
Using the hot glue gun, join all the separate parts of the frame together. No doubt, it should appear in a proper rectangular or square shape. That depends on your measurements. For instance, if you use normal glue there are high chances that your frame may not stick properly. Therefore, use a strong glue instead. For the purpose of a professional look, you can use our online picture-framing service. We also offer photo frames that will give your school project a different finish. Indeed, you can make changes and design the frames in your own way to give them a personal touch.
STEP 4: Decoration
Here comes the fourth stage, decorating your frame. You can use different items to decorate the border and the outline with sticker strips or beads, use whatever material you have at the same time. You can also paint it to match the color scheme and polish it in the case of a wooden frame and then paint it.
Step 5: Adding the Photo to the Frame and creating a stand
After you’re done with the decoration part of the process, add or insert the photo to the frame. You can fix it using tape if it is loose in there. Along with this, you can add a stand to the back of the photo frame. The stand should be triangular to provide support to the frame.
Step 6: Add a front cover
Last, but not least, add a front cover to your photo frame. At this time, you can use acrylic sheets for this. Additionally, you can use glass instead of acrylic sheets as well if you handle it carefully.

Advantages of using our photo framing services
- Unique sizes and designs: We provide various photo frames of different designs and colors according to the customers. You will find frames of different sizes and dimensions.
- Assured Quality: You can refer to our customer reviews to know the quality of our products. We assure you of the quality of photo frames we provide.
- Personalization: You can get the changes done according to what suits your artwork or photos and the wall. Adjusting colors and themes gets easy.
- Durability: The quality of frames decides how long they will last. Indeed, high-quality frames do not get damaged early. We assure you of our photo frame services.
Conclusion
Creating photo frames for your school project is a lovely and fun task to do. Along with this, you add an extra skill to your sea of talent and artwork. Indeed, follow the steps carefully and you will be able to create beautiful frames. Framing World provides you with beautiful wooden gallery frames and the best photo framing services. To access our services, you can contact us or visit our website.
Thank you for reading 🙂


