How to Make a Picture Frame at Home in Easy Steps

Making picture frame on your own is indeed a satisfying and cost effective idea. Below are essential steps of how to make a perfect frame which complements your space as well as the prints on your pictures or any other art work with framing world.
• Wooden strips or molding (length and width same as the frame to be used)
• Saw (if cutting wood yourself)
• Glass panel (additional, for the safety of the photo)
• Hanging bar and back panel home is a rewarding and budget-friendly project.
Here’s a step-by-step guide to making a simple yet professional-looking frame that enhances any space and highlights your photos or art pieces.
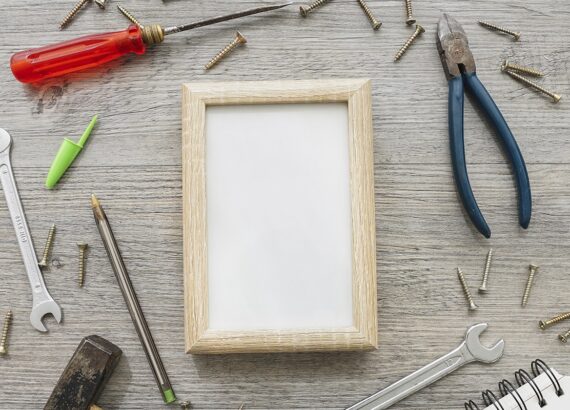
Materials Needed:
• Wooden strips or molding (pre-cut to frame dimensions)
• Measuring tape
• Wood glue and clamps
• Saw (if cutting wood yourself)
• Sandpaper
• Paint or stain (optional)
• Glass panel (optional, for photo protection)
• Backing board and hanging hardware

Step 1: Measure Your Frame Dimensions
Begin by taking the dimensions of your photo or artwork. You will also require marginal surface area to accommodate it, you can use additional approximately ¼ inch around each side to suit precisely.
Step 2: Choose Your Wood
To get a older or shabby chic finish, then pine or reclaimed lumber is perfect. Walnut or oak is useful if you are looking for a sleek or modern frame. In case you’re not sourcing wood yourself, consider the options from Delhi-based photo frame manufacturers or an online picture framing company such as Framing World that sells both supplies and ideas.
Step 3: Cut and Sand the Wood
Cut the wood into four pieces: two pieces to match the height of the frame and two to match the width of the frame. Do the edges and the top/surface to smoothen them because they provide a better ground when painting or staining the piece.
Step 4: Assemble the Frame
Screw the pieces one on top of another and then apply the wood glue on the edges and fit the pieces into a rectangle or square shape. After nailing, fix the corners of the frame by using clamps whereby the glue is left to dry for several hours. If you prefer extra strength.
Step 5: Paint or Stain
Frame your mirror with paint or wood stain for much more style. Pastel colors should be used in organic or modern interior design, and darker shades can be advised for vintage spaces. You might also be interested in our ‘ready-made frames’ should that fit your preference better than our custom framing options available from Framing World’s picture framing service online.
Step 6: Add Glass and Backing
It is suggested to install a glass piece that is the same size as the frame underneath the artwork to provide cover and support from outside, install the artwork and the backing board. Secure everything into place with little nails or clips.
Step 7: Attach Hardware
I hung the picture by screwing the hangers at the back of the frame. Gallery walls can be aligned with the use of a gallery hanging system that makes it easy to align them.
Final Touch
You can now proudly showcase your commercial artwork because your bespoke frame is finally finished! Do it yourself frames make any environment pleasant and are rather unique. If you want more ideas on frames, Framing World offer different styles and types of material best suited for home projects and photo frame manufacturers in delhi.
Of course, with a little effort, and choosing the right pieces of material, any room around the house can be accented with framed memories.
Thank you for reading 🙂


